XYZ Board Replacement
Repair guides are to be used when directed by Voltera Support only!
Performing these without Voltera Support's direction could be the wrong resolution path for your issue and could cause damage to your machine. If you haven't been in contact with Voltera Support about your issue please email [email protected] or reach out in the chat before proceeding.
Before you begin
This guide will take you through replacing the XYZ PCB in NOVA. Before beginning this guide you should have been in contact with our support team and received replacement parts.
Safety first! Before starting any repair, take a moment to review the safety information in your user manual. An online version of the guidelines can also be found here.
As you work through this guide please reach out to our email [email protected] or through the chat if you run into any issues or have any questions. We are more than happy to assist you virtually with this repair.
When in doubt, reach out!
Estimated Repair Time:
10 minutes
Tools you will need:
Screwdriver
Torx bits:
T10
T20
Parts you have received from Voltera:
XYZ PCB
Replace the XYZ PCB
Remove the XYZ PCB
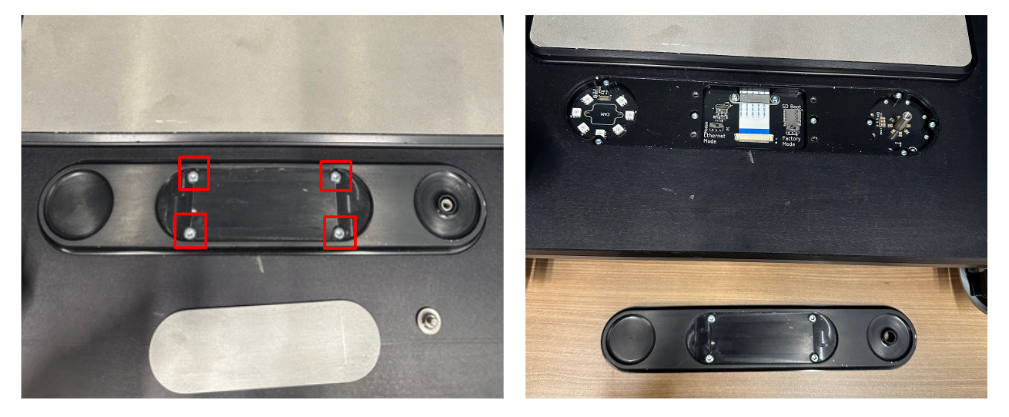
Using a T10 torx bit remove the cable clamp by unscrewing the 2 screws
Gently remove the ribbon cable from the connector by pushing up towards the cable on the locking tab. Use your thumbs on both sides to gently push the tab open (this is delicate).
In case you've forgotten, here is a video of how to properly disconnect a ribbon cable:
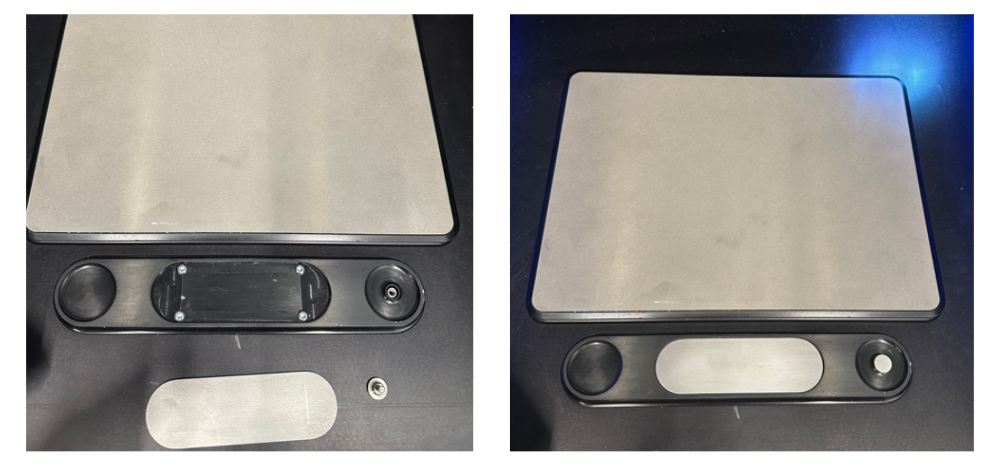
Use a T10 Torx bit to loosen the 8 screws holding the XYZ PCB in place and remove the old board. You can leave the 8 Torx screws in place.
Install the new XYZ PCB
Insert the new XYZ PCB and tighten down the 8 T10 Torx bit to secure it in place.
Make sure that the ribbon cable is on top of the board when you install it.

Open the new connector and insert the ribbon cable. Ensure that the ribbon cable is fully inserted into the connector before closing the locking tab.
Remember to be very gentle with the ribbon cable and connector when re-inserting. The blue tape should be level with the connector and you shouldn’t feel any resistance when the cable goes in. Once in, close the locking tab on the top of the connector.
Once the ribbon cable is secure remount the cable clamp using a T10 torx bit to tighten down the 2 screws.
Do not over tighten!
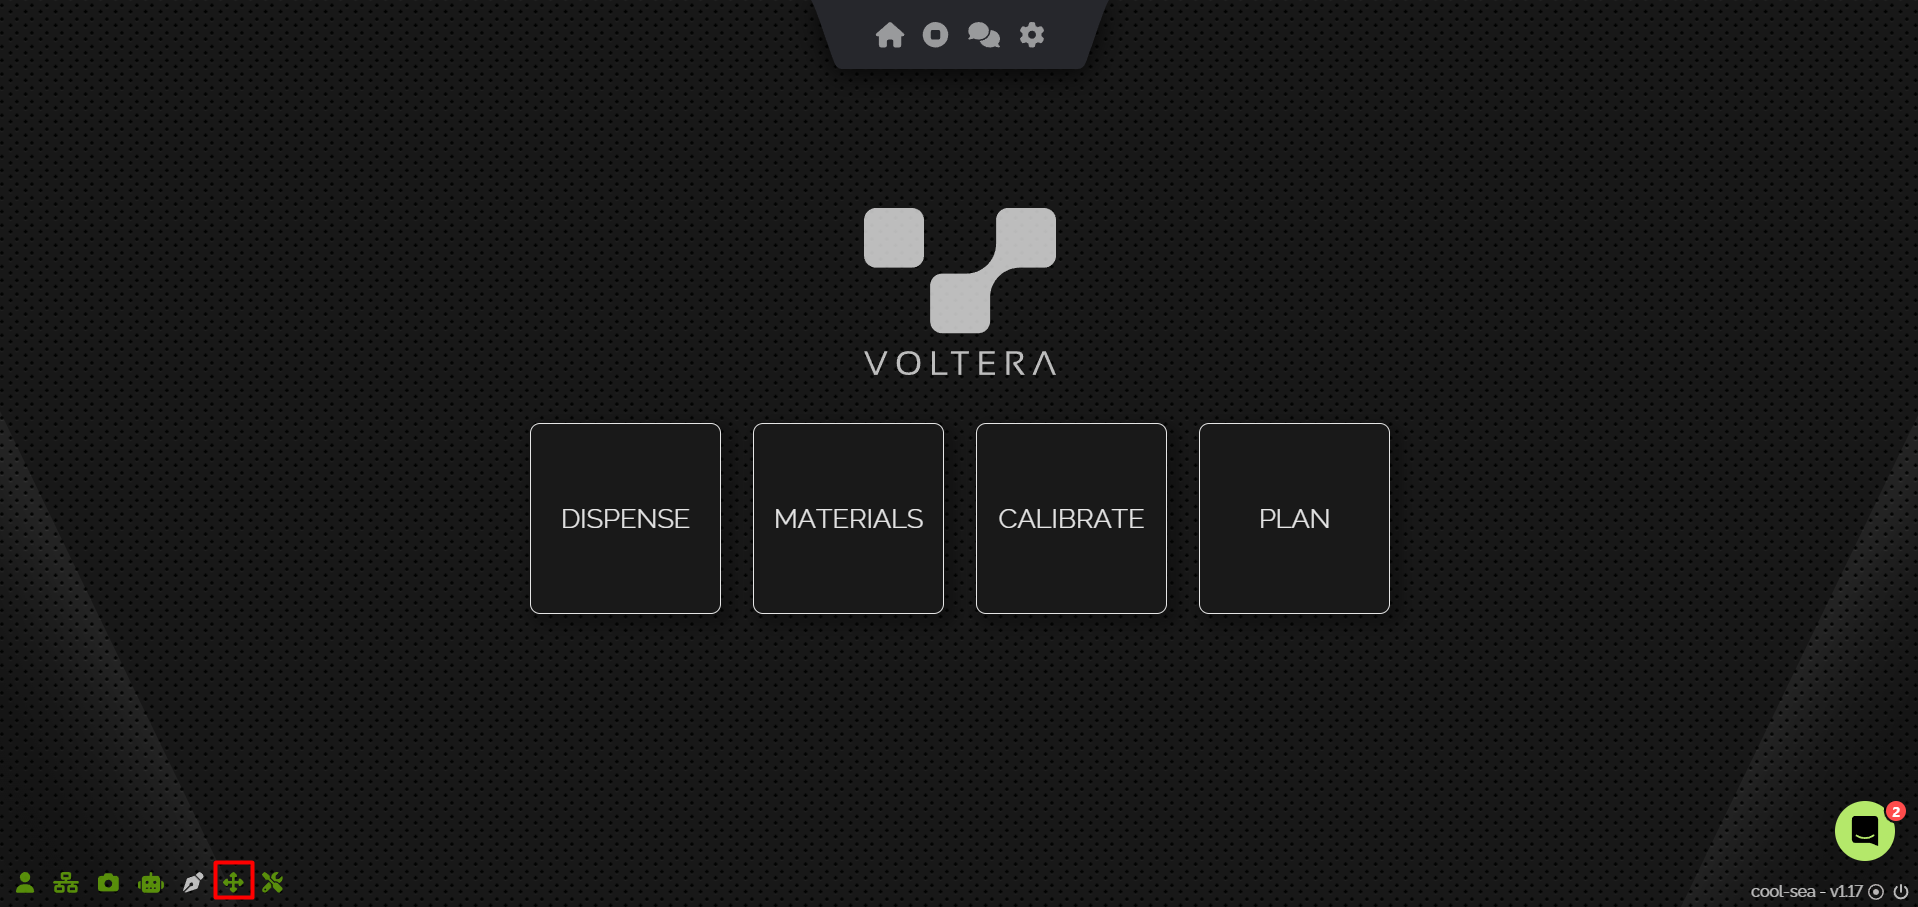
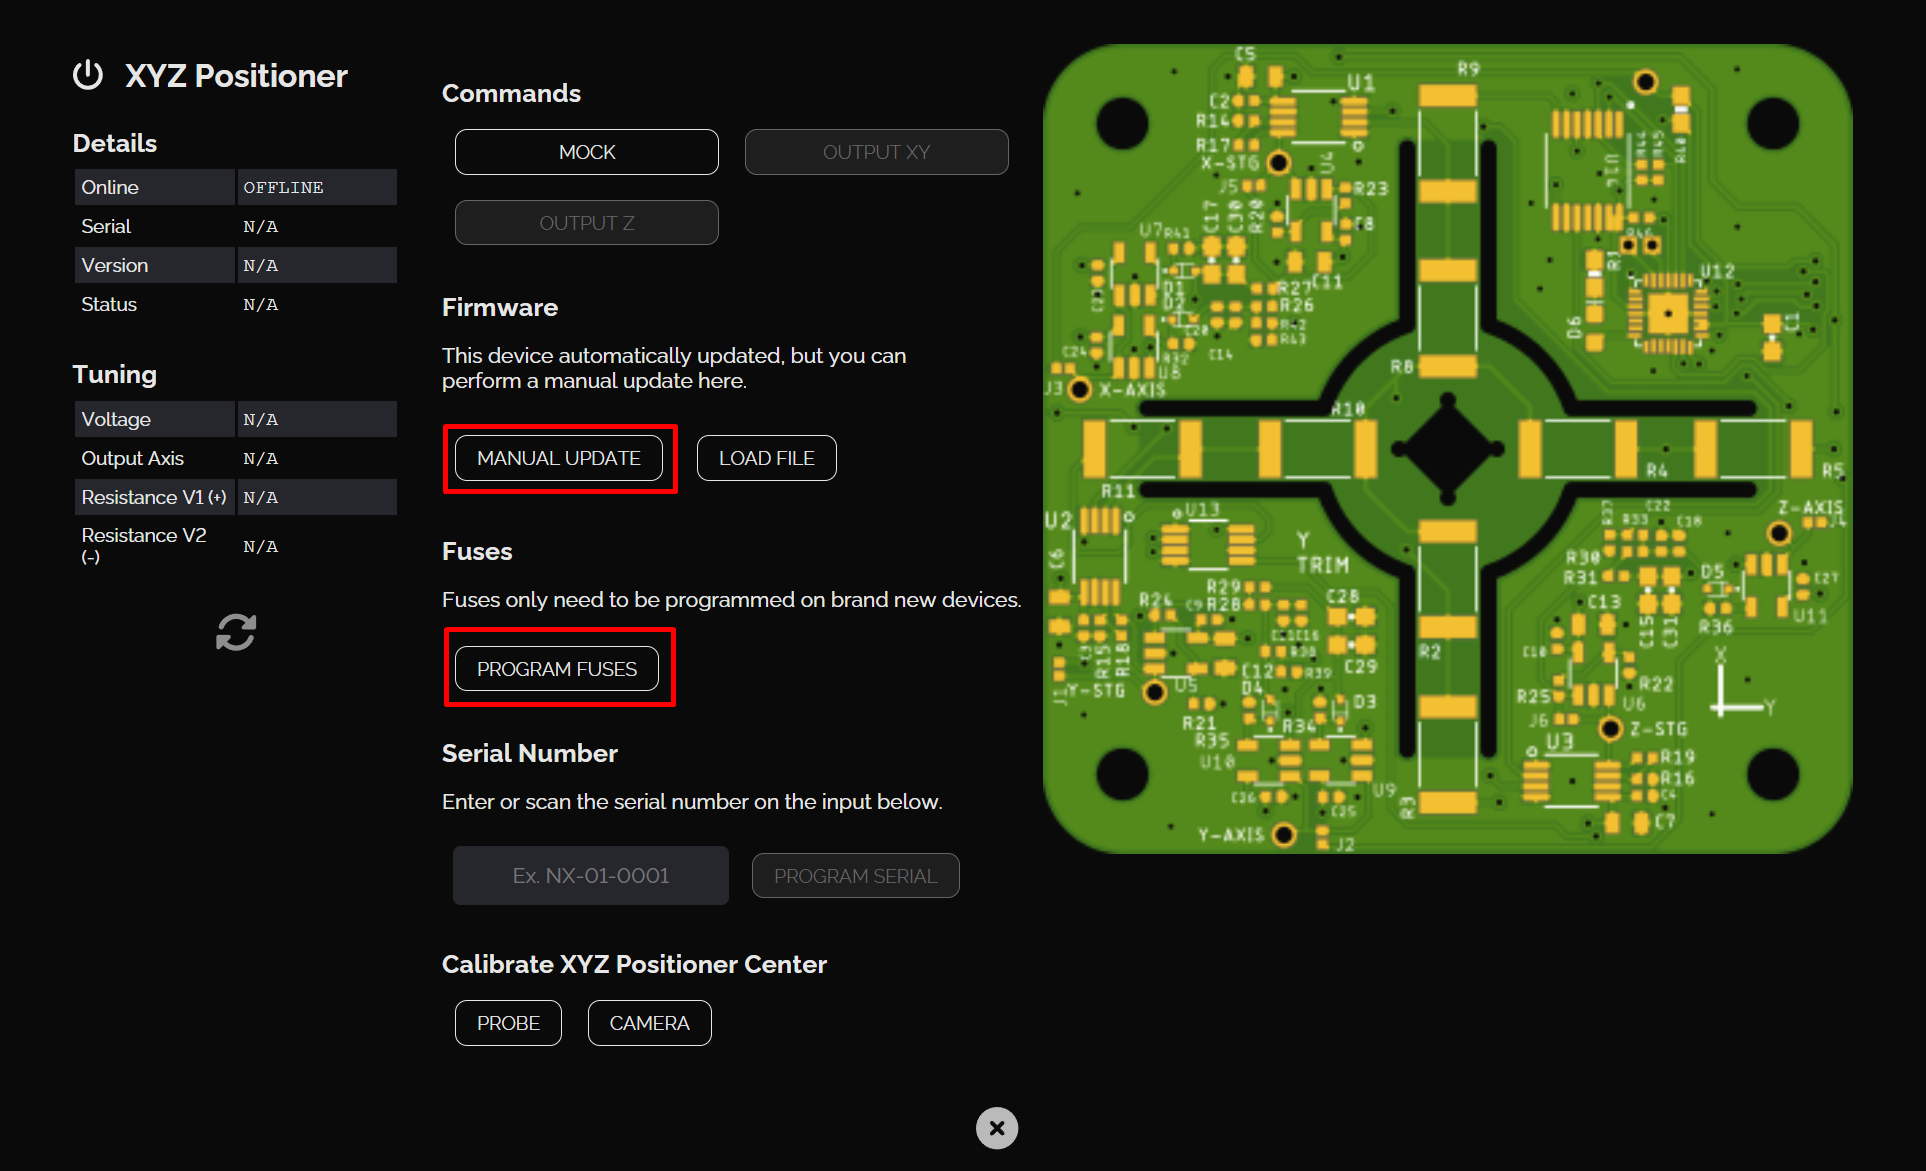
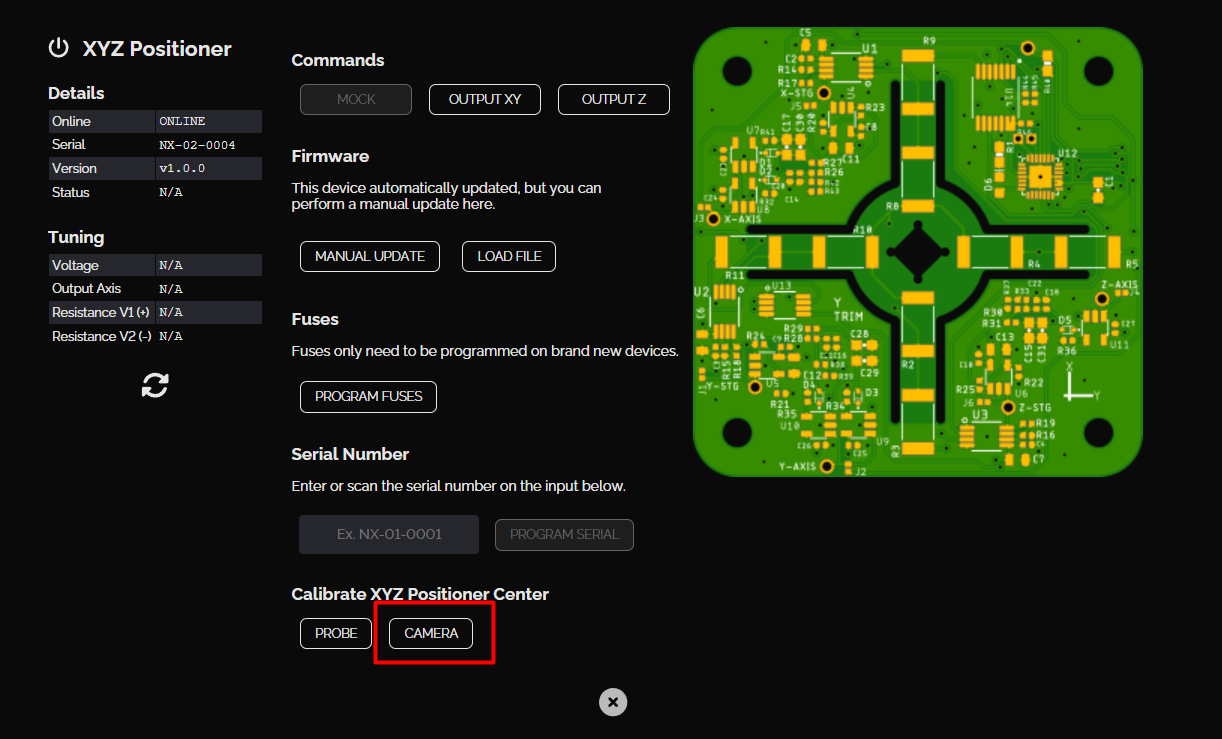
Program the new XYZ PCB
Repair Complete!
Congratulations, you have successfully replaced NOVAs XYZ PCB!
Please reach back out to our support team through email ([email protected]) or the chat to let them know everything went well. We will arrange a shipping label to return the old parts back to us for further testing.
Last updated
Was this helpful?


