Vacuum Wiring Test
Before you begin
Estimated Repair Time:
Tools you will need:
Vacuum Motor Test
Test Complete!
Last updated
Was this helpful?
Safety first! Before starting any repair, take a moment to review the safety information in your user manual. An online version of the guidelines can also be found here.
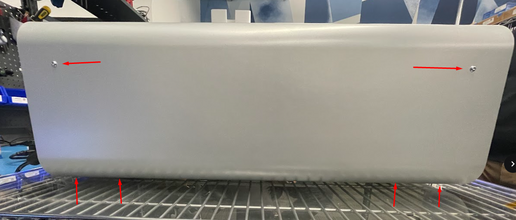
This guide will take you through testing the vacuum motor cabling in NOVA. Before beginning this guide you should have been in contact with our support team.
As you work through this guide please reach out to our email [email protected] or through the chat if you run into any issues or have any questions. We are more than happy to assist you virtually with this repair.
When in doubt, reach out!
20 minutes
T20 Torx bit + screwdriver
Congratulations, you have successfully tested NOVAs vacuum!
Please reach back out to our support team through email ([email protected]) or the chat to let them know everything went well or share any photos, details, and feedback.
Last updated
Was this helpful?
Was this helpful?

