Curing Conductive Ink
Note: Always cure soon after printing. Otherwise, solvents in the ink will evaporate and the ink will dry out.
The importance of curing (baking)
After a circuit is printed, it is important to cure the ink immediately so it obtains the best conductivity, adhesion and soldering properties it can offer. Why?
As the ink temperature increases, chemical reactions are triggered and the metallic particles will form a conductive matrix and fuse together. Many conductivity and soldering problems occur because the ink was either not cured right away, at the right temperature, or long enough.
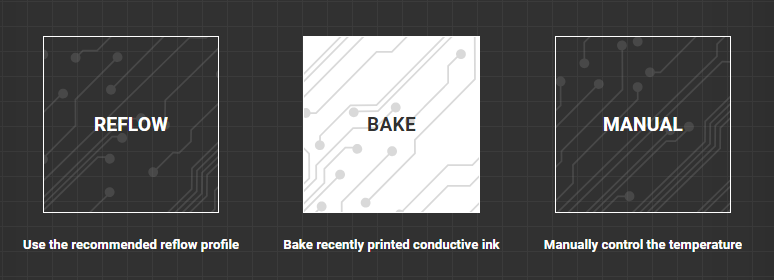
As long the proper ink profile is chosen in the software, the BAKE mode will set the correct temperature and time for the ink you are using.

Curing Conductor 3 conductive ink
Conductor 3 uses a two stage cure that is temperature safe for most substrates we've worked with. Here is the outline of those steps:
Dry
90°C
194°F
5 mins
Bake
170°C
338°F
15 mins
Curing Conductor 2 conductive ink
These are the curing temperatures and times for our Conductor 2 ink:
Substrate Material
Temp. Celsius
Temp. Fahrenheit
Time
FR4
200°C
392°F - 410°F
30 mins
FR1
200°C
392°F - 410°F
30 mins
You may notice the V-One sets the temperature about 20 degrees hotter than the values listed here, this is to compensate for the thermal lag between the temperature of the heated platform and the temperature of the ink on the substrate.
Using an external oven
If you have access to an enclosed curing oven, then you are welcome to cure your boards with it. Just set the oven to the above time and temperatures.
Using an external oven means you can start using your V-One again as soon as the print is finished.
Important: Do not bake FR4 or FR1 at higher than 240°C (464°F). They will catch fire and emit toxic fumes.
Curing Flex 2 conductive ink
These are the curing temperatures and times for our Flex 2 ink:
Substrate Material
Temp. Celsius
Temp. Fahrenheit
Time
FR4
200°C-210°C
392°F - 410°F
30-40 mins
Kapton (Polyimide)
200°C-210°C
392°F - 410°F
30-40 mins
PET
160°C
320°F
15 mins
Thin films must be kept completely flat and in contact with the heater at all times to prevent poor curing. This is challenging because the films will lift as they heat up and expand.
As the film lifts, air will become trapped between the heated bed and the film. Since the heated platform primarily transfers heat by conduction, and air is a great thermal insulator, the ink will not reach the target temperature.
Note: In BAKE mode, the max temp. is 160°C (320°F) to avoid damaging PET. If printing on FR4, FR1 or Kapton, a MANUAL cure is preferred. (See below)
Under-cured ink will have poor conductivity, poor adhesion and poor solderability. To prevent this, we recommend one of the following:
1. Adhesive backed films
Purchase a film that has an adhesive on one side. Adhesive backed Kapton is quite popular and fairly inexpensive. Then:
Adhere the film to a piece of FR4 or FR1. You may use one of our 2" x 3" or 3"x 4" blank substrates.
Probe, print, and cure the board as normal (flipping during baking if required)
Gently peel the film after it has been cured. Avoid creasing the flex ink.
Use acetone or isopropyl alcohol to clean off the adhesive.
The adhesive will prevent the film from curling and ensure it reaches the curing temperature.
2. Enclosed Oven
If you have access to an enclosed oven, then you can print on the V-One and transfer the film to the oven for curing.
Even if the film curls, the ink will reach curing temperature since the air surrounding the film will be at curing temperatures.
Manual Mode
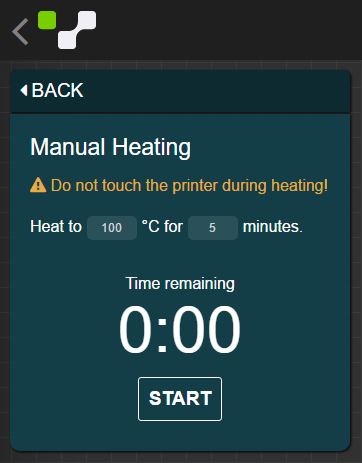
It is entirely possible to control the temperature directly and create your own curing profile. Just enter the time and temperature values you want. The maximum temperature is 240°C (464°F) and the maximum time is 60 minutes.
It is not possible to program complex profiles at this time.

Last updated
Was this helpful?