> For the complete documentation index, see [llms.txt](https://docs.voltera.io/docs/llms.txt). Markdown versions of documentation pages are available by appending `.md` to page URLs; this page is available as [Markdown](https://docs.voltera.io/docs/nova/troubleshooting/print-issues/purging-your-nozzle.md).

# Purging your Nozzle

With many of the pastes we work with, they begin to cure the moment they’re exposed to air. You might expect this to be less of an issue for such a small opening, but even for a small orifice like a 150µm nozzle can experience this quicker than you think.

If left long enough you can experience something called ‘skinning’. This is where we have a cured skin across the surface of the nozzle that may restrict the flow of the uncured ink behind it.

This is where purging comes in. Purging your nozzle is a quick step that will ensure you can get back to great prints quickly.

### How to Purge

First thing you’ll need to do is home your NOVA. This will park the gantry in the back right corner, but more importantly it will home all of the axis and make sure you’re not dispensing onto your print area. To do this click the home button in the top bar of the software:

<figure><img src="https://lh3.googleusercontent.com/sqxajlp3r4HJ5PEvKA9mvVZM11FEP7B2zXLCl5y_4vjIqUvkxjJ_NfsyPlVwYY95XtFkpeCfJxegbGe3CkQI--NG82SczgrtGUlCWHYVkeXG14X7Z8oCLjc7XQVZ8qwEKRgQBK7stDqCVHFPmnGhWhpHrBb4E1ZJ9rWyTOkkjIb7V5c_f_1H2wY1pAFhug" alt=""><figcaption><p>Home the system button</p></figcaption></figure>

Once homed, you will need to navigate to the tool page for the smart dispenser. In the bottom left options area, click on the Hardware Attachments option:

<figure><img src="https://lh4.googleusercontent.com/kyeax-i6ojUHuQAROl3M2OjFTdrEIQHEEecPEIHm7vE3xysl30rZe8JL0o-d-Z7NeeY6G3Grub8O3Gviu1KaySjgHITcqO6mXa30QTZXzxSFkwPGY-iDO8XsPiA_45Z5OYt_HYTRAiAjhQW7VGywgVRqUHlCBl9HcMdvueF7qT7PeSdaqjC1D8MHpk8zdg" alt=""><figcaption><p>
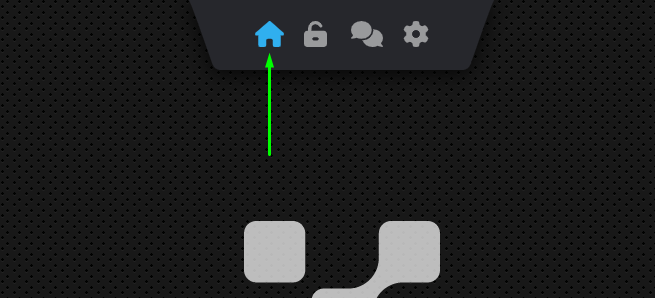
Hardware Attachments button</p></figcaption></figure>

Click on the Smart Dispenser either on the left or right according to which port of the module hub it’s connected to:

<figure><img src="https://lh5.googleusercontent.com/fpjxxbLeclzPA07Mjv80Qr1mbhoL4YCFvhS1pozeqiAgrdg95a-XseVGmYmEh9U39N2OwnC5fBhHPUHtUfKSwfw5yKNOUN3v9L2L9OPpEdawze3V1dBVmQyuPaqsv--mpokf_zmHeGjxDJ2FOSXP8RjsAeARGXH0huOk67P6avl88byGYycu1NSy1NobZg" alt=""><figcaption><p>
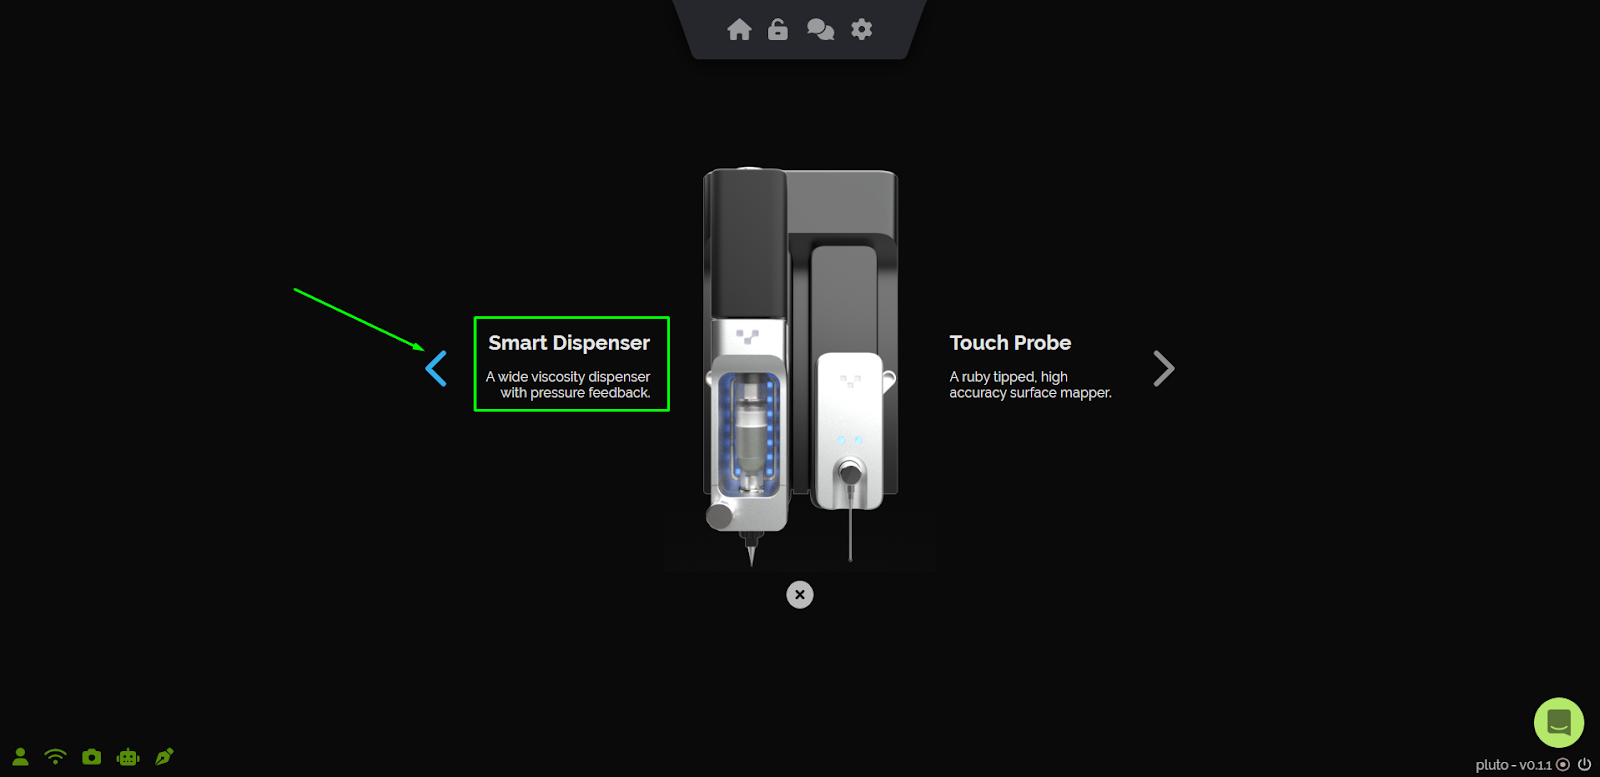
Selecting the Smart Dispenser</p></figcaption></figure>

On the options page for the Smart Dispenser, you will need to HOME the dispenser. This will ensure that there is no longer any pressure being applied to your material:

<figure><img src="https://lh5.googleusercontent.com/MhYVneuMKxePM4dEkLXGuWOmdTJKk76it6M3tXz_ZVwv3OBfkBYntTTyU84xkMCNkvMtO-3-SOXNuAs4ZOeyhLiNYl_MKMjEwOUpHzGlr8MIsGx739zYlZhlmUrF8CgVeOmLD38IjcWU4SJxlwUOxoYTqs79UBmVtu3PIHQ0PRaVv1mkb2xIjxzkeyXqCg" alt=""><figcaption><p>
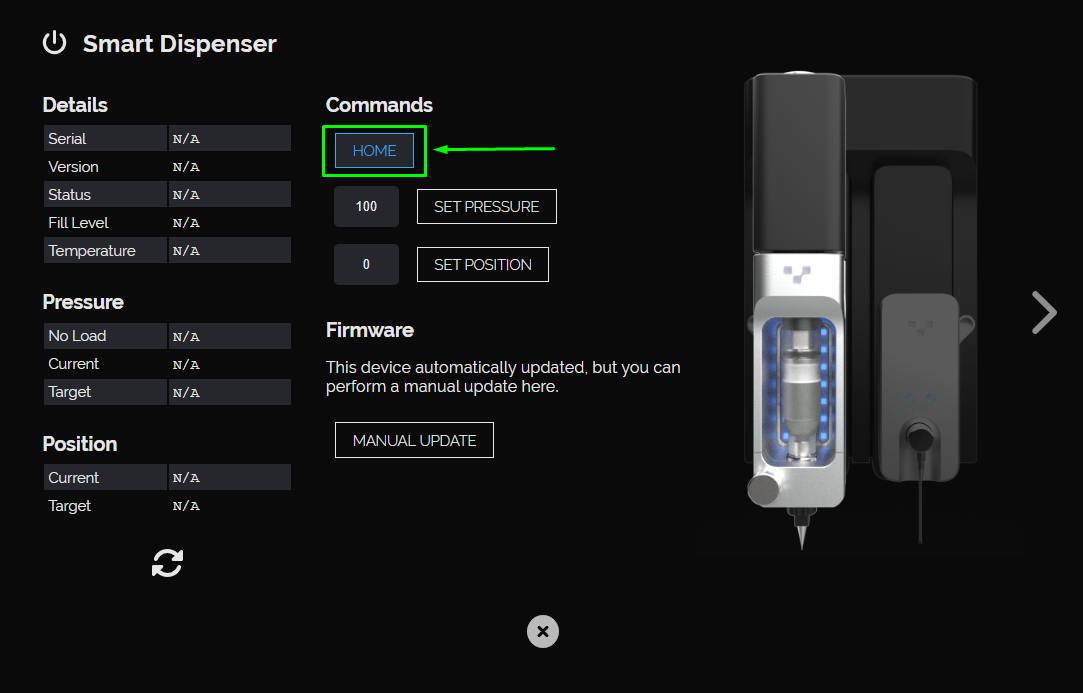
Homing the dispenser</p></figcaption></figure>

To manually purge the blockage in the nozzle you will need to gradually increase the pressure being applied on the Set Pressure option. We recommend that you you start in increments of 200. So start with setting to 200, wait for the dispenser to pressurize and see if any paste comes out the end of the nozzle. If nothing, try 400, then 600, etc. until you see paste flowing reliably through the nozzle.

<figure><img src="https://lh4.googleusercontent.com/eSAWWaw_dv0MUZ_6r9FZwQn5zg61sIoJnoJ7wl0wvbXSI8tTa6m4w2MdlyYxW24bAIPNvt_xdrrNp3jpsNMMdYkiyuaC804-vD-4CbIt1VQinNE2Is8plKjHjO2k-lvvV7HEtdh3JV8COmNFU2fcQhyr1l6SnNV5uWzVZD8I-C3Gjd0q7VuI79gYNtDKog" alt=""><figcaption><p>
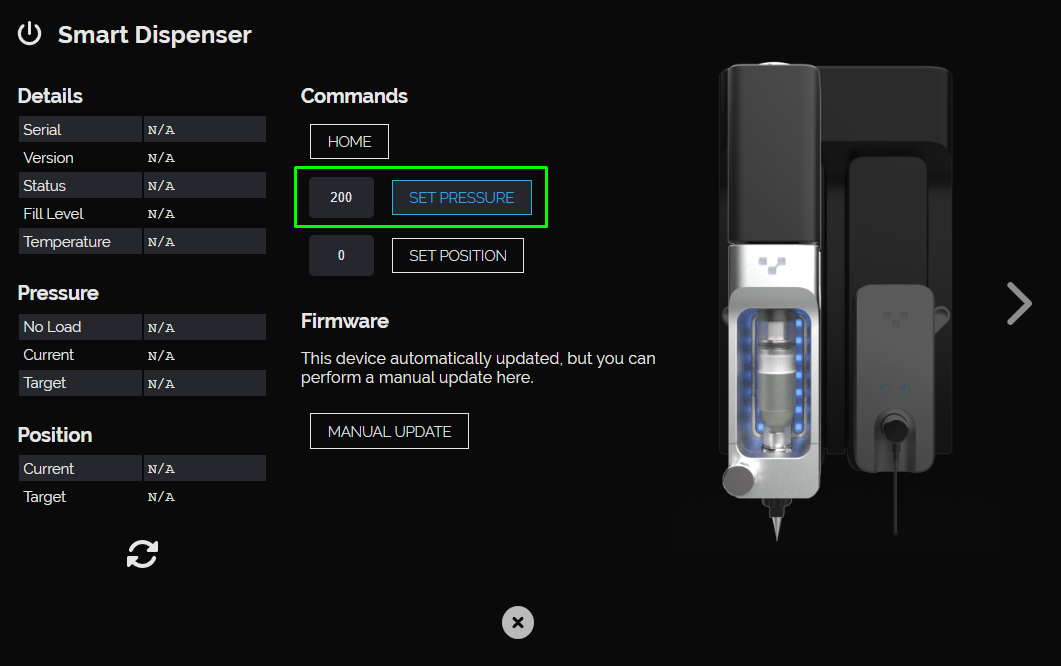
Setting the pressure manually to 200</p></figcaption></figure>

<figure><img src="https://lh4.googleusercontent.com/r2ddS7Xy4bydorbKjwi_inOX40YDR1fpMVYNMfP21LT8mXvQ6unyZrH0LYxSqyWNFegfpNUY5kCKA1vJcRVZIvUEJvyeACk8lKKL6HOrpkn4sUK1_-Vb2a_gkjKIGTfjgFXQQHazQFAE0oV5uexobG3RWen5nszNTH0caeli6H8oW4043X_NbM3g3GTEuA" alt=""><figcaption><p>
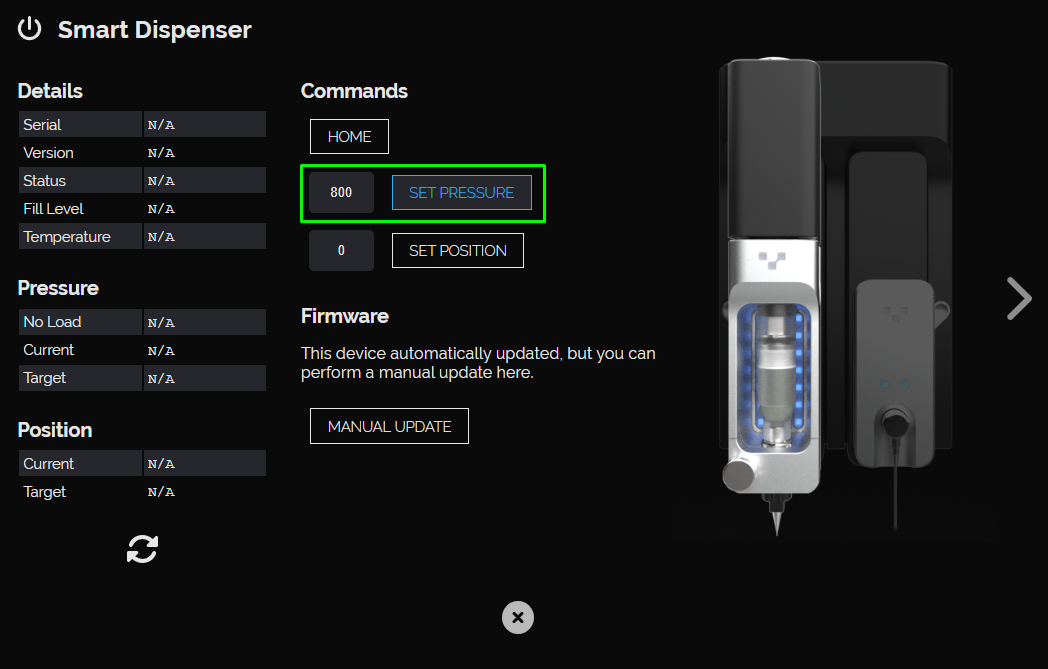
Setting the pressure manually to 800</p></figcaption></figure>

Once complete you can return the pressure to the default 100 setting, close the Smart Dispenser options and return to printing.

<figure><img src="https://lh4.googleusercontent.com/I1lwFhEebSnCVUdrVBmLdDbbhtpL-U7n_7MWAVbBwjos6xJvZFMpchgDicZmsE_-2_tij2WCvAnhBwvgjoBzBou2T7k4-cdqSni3mM0fuzqyFnnCygNHgEBCCMBVgHbk5PT766jsw5hVPBDjhYpHrA0RjxaJ5k6ZxXpb_rmsFgyrQdWbtrz08g_H6THsXA" alt=""><figcaption><p>
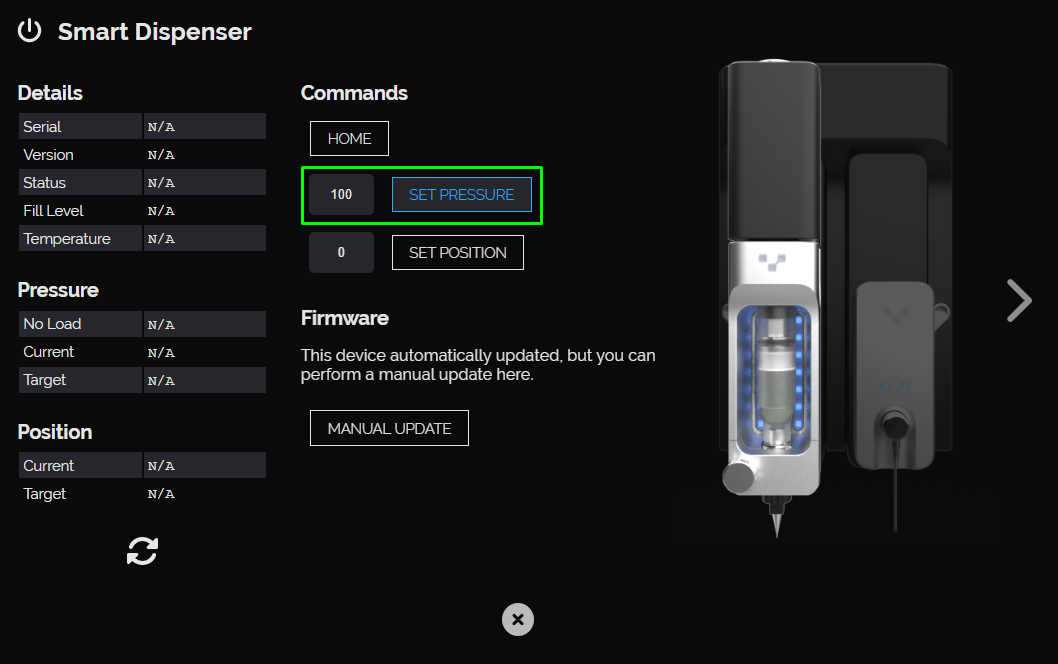
Setting the pressure back to 100</p></figcaption></figure>

<figure><img src="https://lh4.googleusercontent.com/KiJOnUqmB8jlmpQWzeG1XrIXjuus6r-Yjqkd68VTPakcpUvVFYpURgbMHO2YiYvHMm-x3rwfuge16cnZM5-bLGdXBKAjYqXa9na3ZBcNtzUvy7AoQLIDGPyLF_znKR5d_yBtKuUGtZebu9CAkCgHvvZey6A51TpxQwdMAjOMY9Jqck2efKoA_6CdYv0N7g" alt=""><figcaption><p>
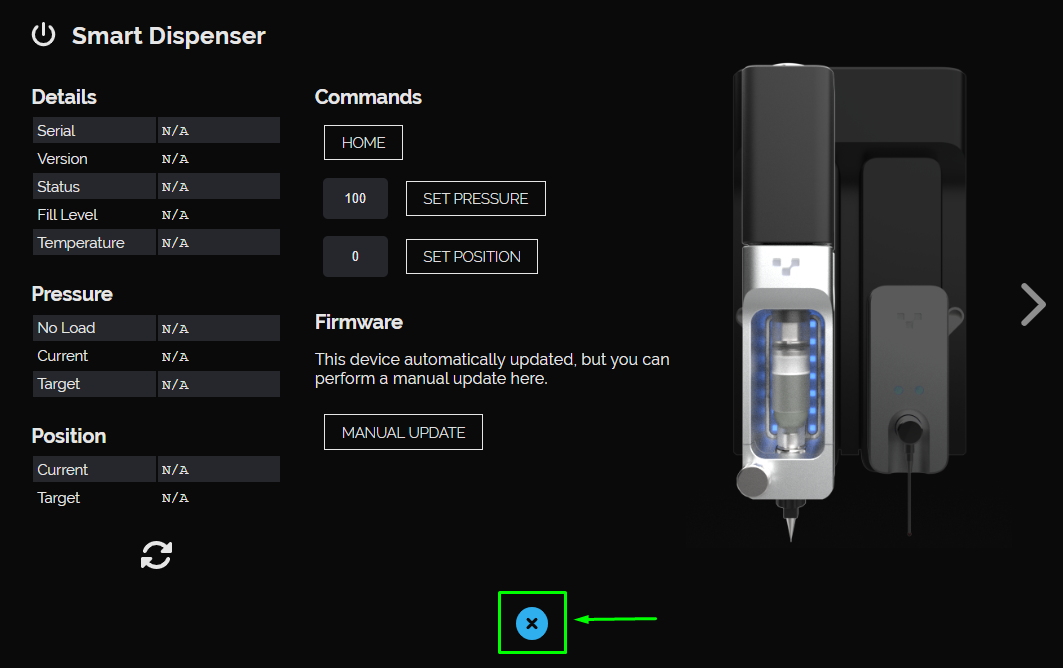
Closing the Smart Dispenser options</p></figcaption></figure>

That’s purging! If you find that purging wasn’t helpful, the ink in your nozzle may have been left a little too long and it’s fully clogged now. Swapping to a fresh nozzle should get you back to printing. If you’re unsure, feel free to reach out to our [Support team](mailto:support@voltera.io).

<br>


---

# Agent Instructions
This documentation is published with GitBook. GitBook is the documentation platform designed so that both humans and AI agents can read, navigate, and reason over technical content effectively. Learn more at gitbook.com.

## Querying This Documentation
If you need additional information that is not directly available in this page, you can query the documentation dynamically by asking a question.

Perform an HTTP GET request on the current page URL with the `ask` query parameter:

```
GET https://docs.voltera.io/docs/nova/troubleshooting/print-issues/purging-your-nozzle.md?ask=<question>
```

The question should be specific, self-contained, and written in natural language.
The response will contain a direct answer to the question and relevant excerpts and sources from the documentation.

Use this mechanism when the answer is not explicitly present in the current page, you need clarification or additional context, or you want to retrieve related documentation sections.
